Stream with xSplit Broadcaster Tutorial
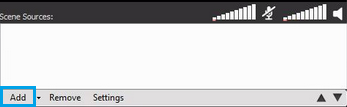
Start by adding your input source using the "Add" button located at the bottom of the xSpit window. There you will be able to select your webcam, capture card, or screen capture scene.
Next you will have to create a custom RTMP channel to add your Server Room streaming server. Click on the "Broadcast" button on the main interface of the xSplit and go to "Add channel -> Custom RTMP"
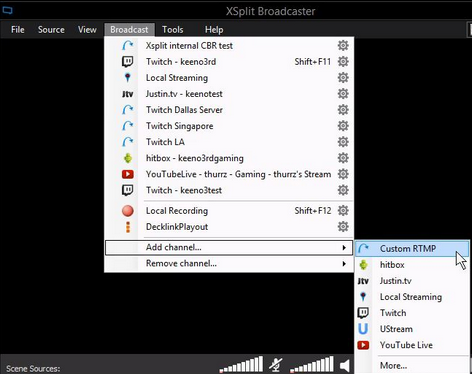
After you have selected "Custom RTMP" a new windows will open where you will input your Server Room provided streaming details.
In the "RTMP URL" field enter your streaming address which should look something like this: Rtmp://address.srfms.com:port/live
You will find your streaming address in your Server Room welcome email, or in your Server Room Dashboard.
In the "stream name" section enter your desired stream name, the most commonly used name is "livestream" but you can use any name you wish.
After doing so, you can select your encoding preferences like audio-video bitrate and codec.
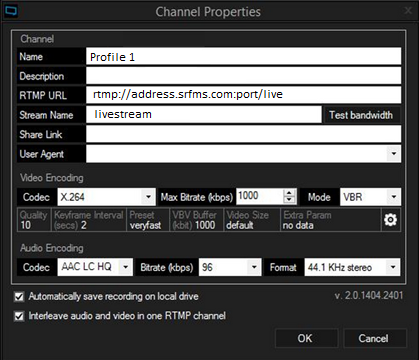
Once you have filled out the necessary information, hit "OK" to go back to the main windows where you will find your new streaming profile and click on it to begin streaming with xSplit.
Did you know we sell streaming services?
Our audio and video streaming services come with unlimited connections, unlimited bandwidth, and are backed by our 24/7 expert support staff!