Stream Live with Expression Encoder Tutorial
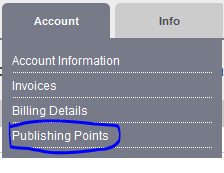
After the account is set up you need to add a publishing point to your server. Doing this is as easy as signing in to your account, selecting the Account tab and finally going to Publishing Points.
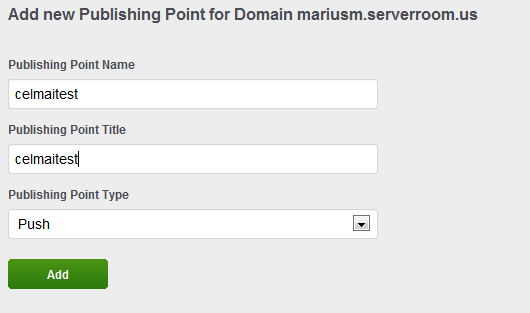
In the publishing point set up area you need to provide a name, title and set the type of your newly added publishing point.
Next step is downloading the Microsoft Expression Encoder 4 PRO SP2 (you can download it from here ). Make sure that you have the licensed version or you won't be able to stream to iPhone devices for more than 10 seconds at a time (which is what the free version allows).
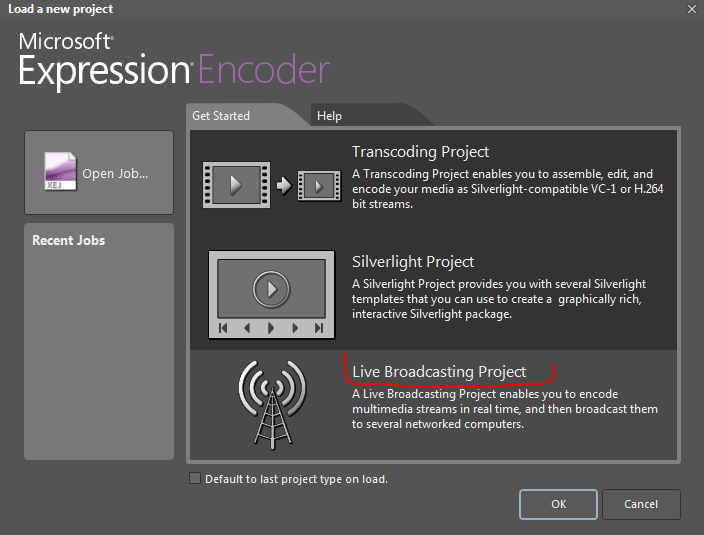
After you are done installing it, open the Microsoft Expression Encoder and on the first screen choose Live Broadcasting Project.
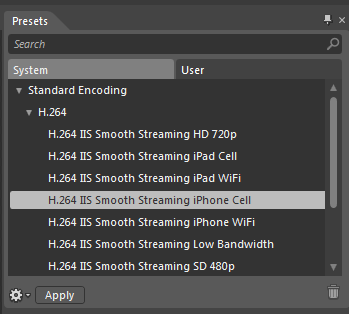
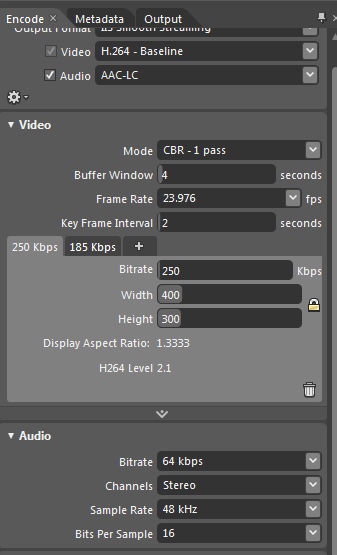
After you select the Live Broadcasting Project in the top right corner you can then select the type of stream on the H.264 video codec (as seen in the image below).
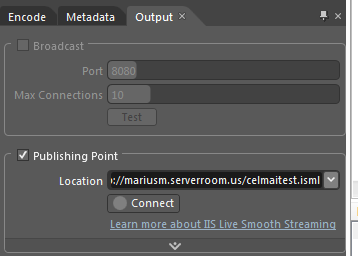
Hitting the Apply button will take you to the Preset window where you need to select the Output section. You will have to check the Publishing Point box and type your domain name and publishing point in the Location field. Hit connect and the program will prompt for the user and password.
In the Encode section you will need to select the bitrates you will want your stream to be encoded to during the live stream. However, our servers can easily determine what bitrate is best used for your stream by checking your connection speed to our server. You can either add or delete bitrates from the menu by using the "+" sign or trash icon (bottom right).
If you encounter any errors during this step you should go back on your account page and select Publishing Points once more. You should now be able to see the publishing point control buttons as shown in the image below. Just hit stop and shutdown and then start it again.

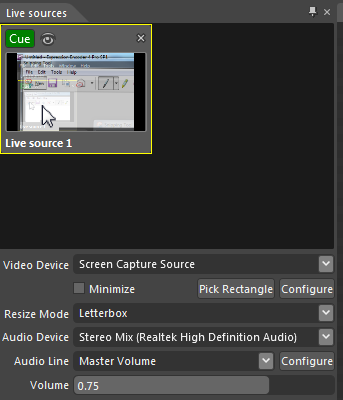
The encoder window is pretty self-explanatory. You can either select the "Add a live Source" or "Add a File Source" links depending on what you are planning to use for your live stream. Therefore if you are planning to use a device attached to your computer such as a webcam, IP camera or any other similar device (even for streaming screen capture) you should select the Live Source. For streaming an already encoded video file from your computer or local network you should select the File Source.
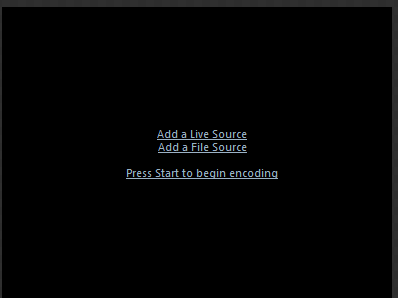
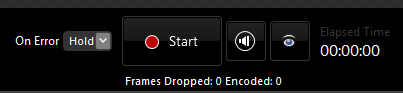
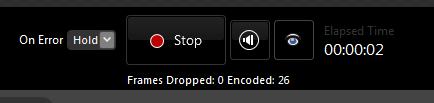
After all the settings are set and all the features configured you can start streaming by pressing the large START button in the middle of the screen. Once pressed, the START will turn to a STOP button that you can use in case you need to change the source or to simply end the current session.
In order to watch your stream you will need to access your account page and click on the Publishing Point tab. Select one of the available options.
Happy Streaming!

Did you know we sell streaming services?
Our audio and video streaming services come with unlimited connections, unlimited bandwidth, and are backed by our 24/7 expert support staff!