Follow this step-by-step guide to configure Winamp and the SHOUTcast DSP plugin for live audio streaming with your Server Room SHOUTcast or Icecast server. Get your station live in minutes.
Follow each step carefully to configure Winamp and the SHOUTcast DSP plugin for live audio streaming with your Server Room server credentials.
You need the following software on Windows Vista / 7 / 8 / 10:
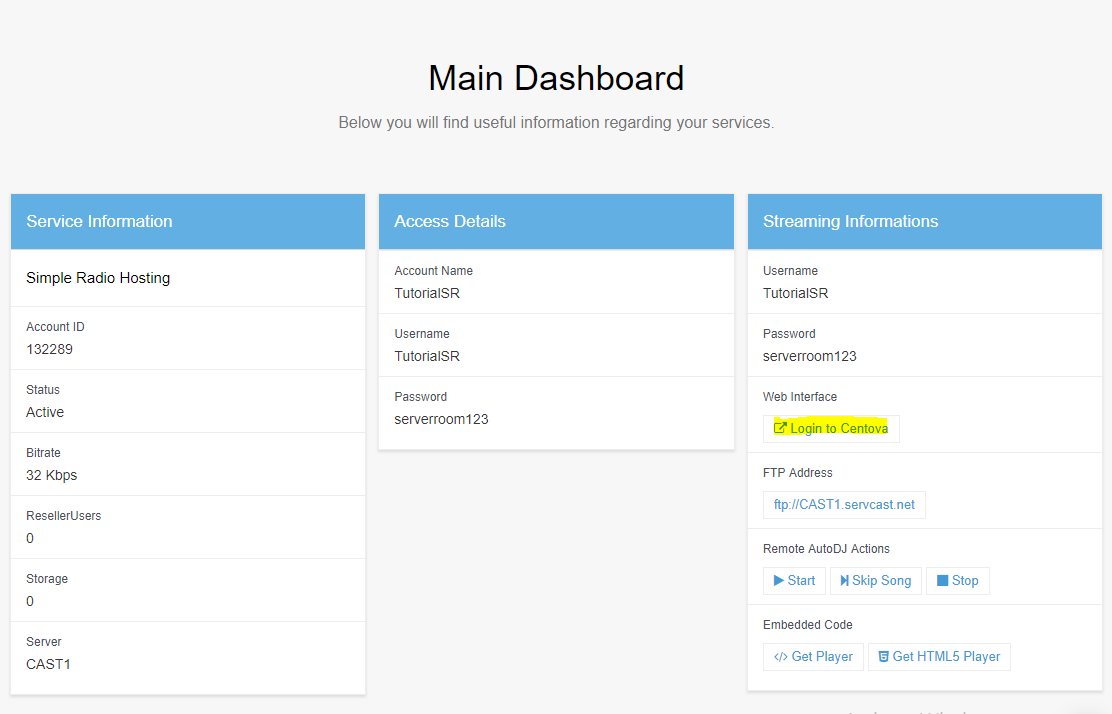
Once both are installed, log into your Server Room account and click Login to Centova from the Dashboard to access your SHOUTcast station panel.
 Expand
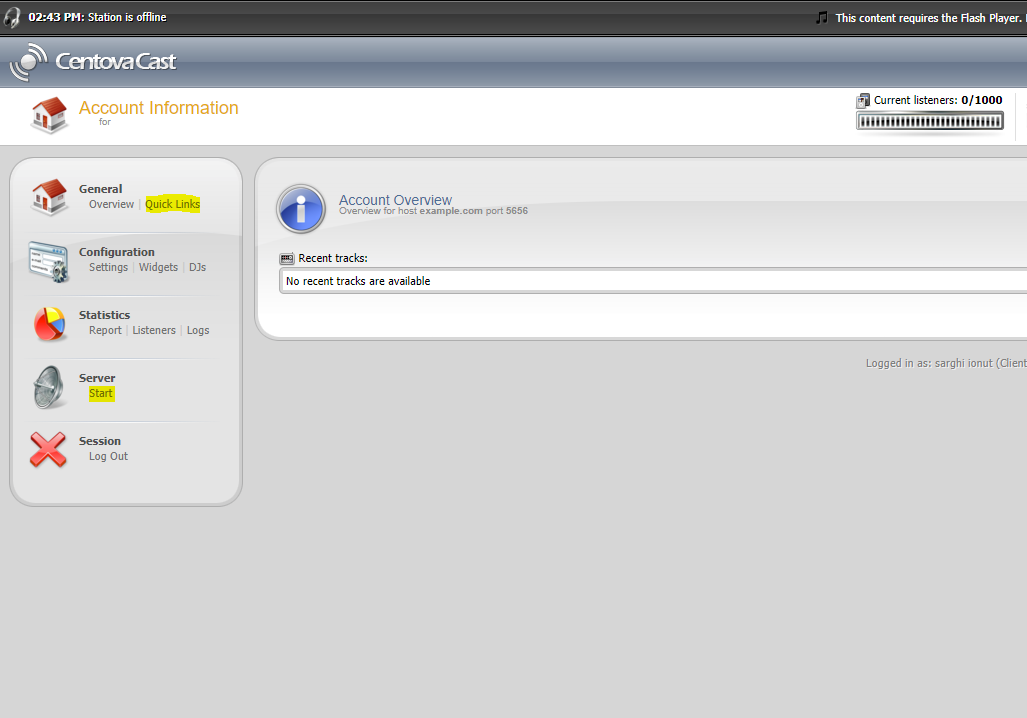
In the Centova panel, click Start to power on your SHOUTcast station, then click Quick Links. Scroll down to Live Source Connections to find your Server Hostname and Server Port.
To get your streaming password, go to Settings in Centova and click the reveal button next to the source password field.
 Expand
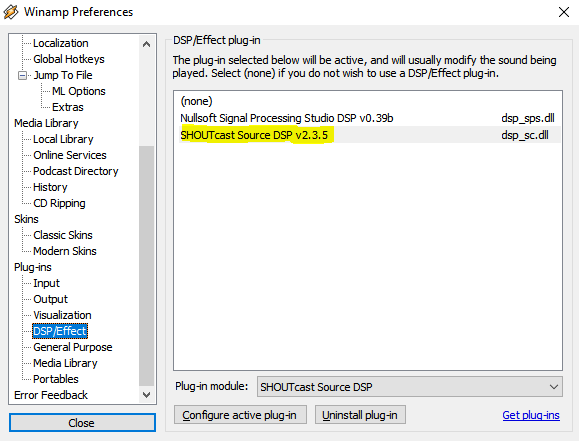
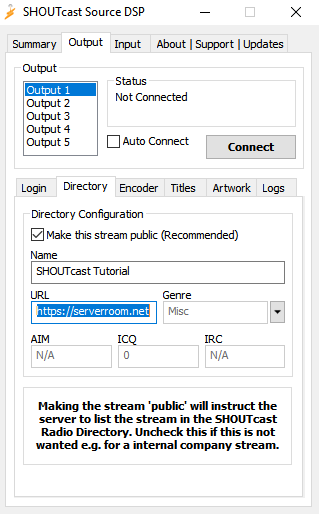
Open Winamp and press Ctrl+P to open Preferences. Click DSP/Effect and double-click SHOUTcast Source DSP v2.3.5. In the Output tab, enter your Server Hostname, Port, and Password. Leave the Username field blank.
Optionally, enable Reconnection Timeout: 0 to auto-reconnect if the connection drops.
 Expand
Click the Directory tab. Enter your station name in Description, your website in URL, and your genre in Genre. Check Make this server public if you want your station listed on shoutcast.com.
 Expand
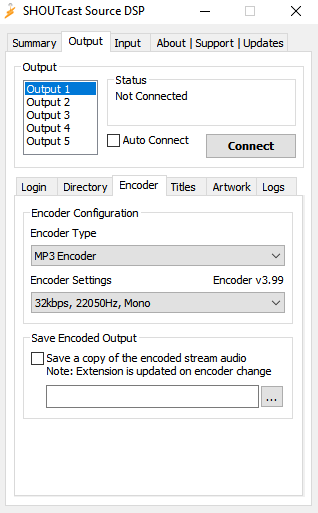
Click the Encoder tab and select your bitrate. Use 24–32 kbps for 56k modem listeners, 64–128 kbps for broadband. Standard CD quality is 128 kbps. Also choose mono or stereo as appropriate.
Note: Free Radio Streaming plans are limited to 32 kbps.
 Expand
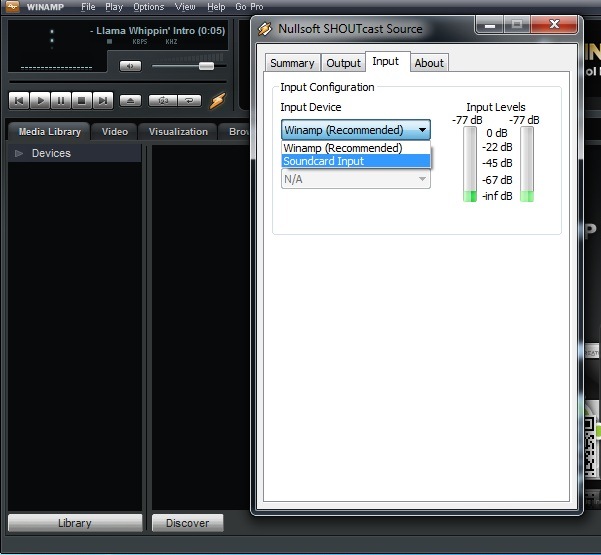
Click the Input tab. Select Winamp to stream whatever is playing in Winamp, or select Soundcard Input to broadcast microphone or mixer audio as well. Set input quality to 44100 Hz, Stereo for best sound quality.
When ready, go back to the Output tab and click Connect to start your live broadcast.
 Expand
Common questions about setting up SHOUTcast DSP for live streaming with Server Room.